Cloning and Creating Repositories
Introduction
Goal
In this tutorial, we aim to discuss how to clone and create repositories on GitHub. GitHub is a web-based hosting service for version control and collaboration. It allows you to work on projects collaboratively, making it a vital tool for developers.
What You Will Learn
By the end of this tutorial, you will learn how to:
- Create a new repository on GitHub
- Clone a GitHub repository to your local machine
Prerequisites
To follow along with this tutorial, you should have:
- A basic understanding of Git and GitHub
- Git installed on your local machine
- A GitHub account
Step-by-Step Guide
Creating a New Repository
Creating a repository on GitHub is straightforward. Here are the steps you need to follow:
- Log in to your GitHub account.
- Click the "+" icon in the upper right corner and select "New repository".
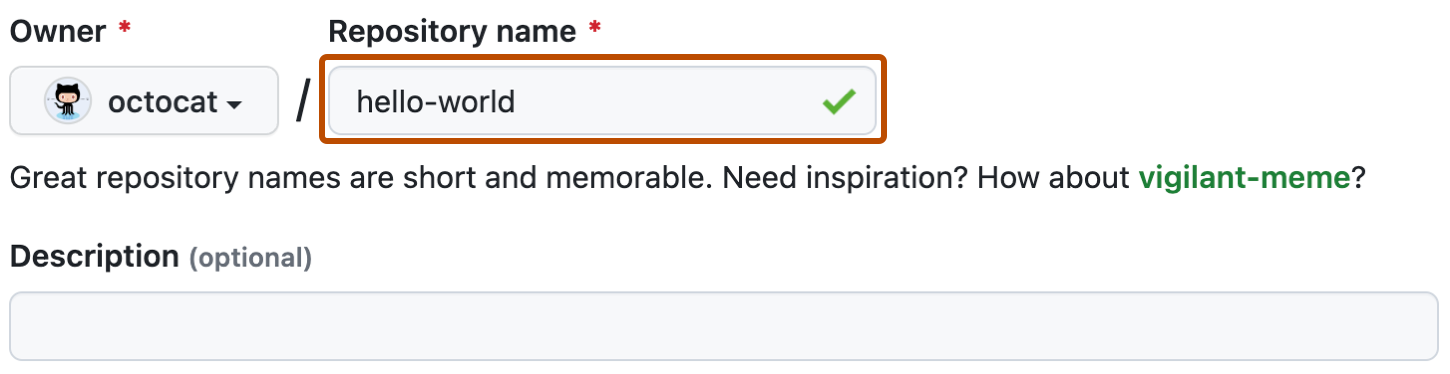
- Name your repository, provide a short description, select either public or private, then click "Create repository".
Cloning a Repository
Cloning a repository means creating a local copy of a repository on your computer. This is the typical way to download code from a repository. You can do this by running the following command in your terminal:
git clone https://github.com/username/repository.git
Be sure to replace username with the GitHub account's username and repository with the name of the repository you wish to clone.
Code Examples
Here are some practical examples:
Creating a New Repository
Below is a step-by-step guide on creating a new repository:
- After logging into your GitHub account, click the "+" icon in the upper right corner, then select "New repository".

- Enter your desired repository name (for example, "my-first-repo"), provide a description (optional), select either public or private, and click "Create repository".
Cloning a Repository
To clone a repository, follow the steps below:
- On GitHub, navigate to the main page of the repository.
- Under the repository name, click "Clone or download".

- In the "Clone with HTTPs" section, click the clipboard icon to copy the clone URL for the repository.

- Open your terminal, navigate to the location where you want the cloned directory to be made.
- Type
git clone, and then paste the URL you copied earlier. It will look like this:
git clone https://github.com/username/my-first-repo.git
Press Enter and your local clone will be created.
Summary
In this tutorial, we learned how to create and clone a GitHub repository. These are fundamental skills for version control and collaborative projects on GitHub.
Practice Exercises
-
Create a public repository on GitHub. Name it "Hello World" and add a README file during the creation process.
-
Clone this repository to your local machine. Navigate to the cloned repository's local directory via your terminal.
-
Create a private repository on GitHub. Name it "Private Repo" and do not initialize it with a README file.
Solutions and Tips
-
Creating a repository is straightforward. Remember to select "Initialize this repository with a README" to add a README file.
-
When cloning, remember to replace
usernameandrepositoryin thegit clonecommand with your GitHub username and the name of the repository you're cloning. -
While creating a private repository, do not tick the "Initialize this repository with a README" option. This will create a repository without a README file.
Remember: Practice makes perfect. Keep creating and cloning repositories to familiarize yourself with these processes.